Jack-o-Laser
If you had access to a laser cutter in October, what is the first thing you would try to do? Obviously you would use it to carve a pumpkin. Nothing more really needs to be said.
Videos
Long Description
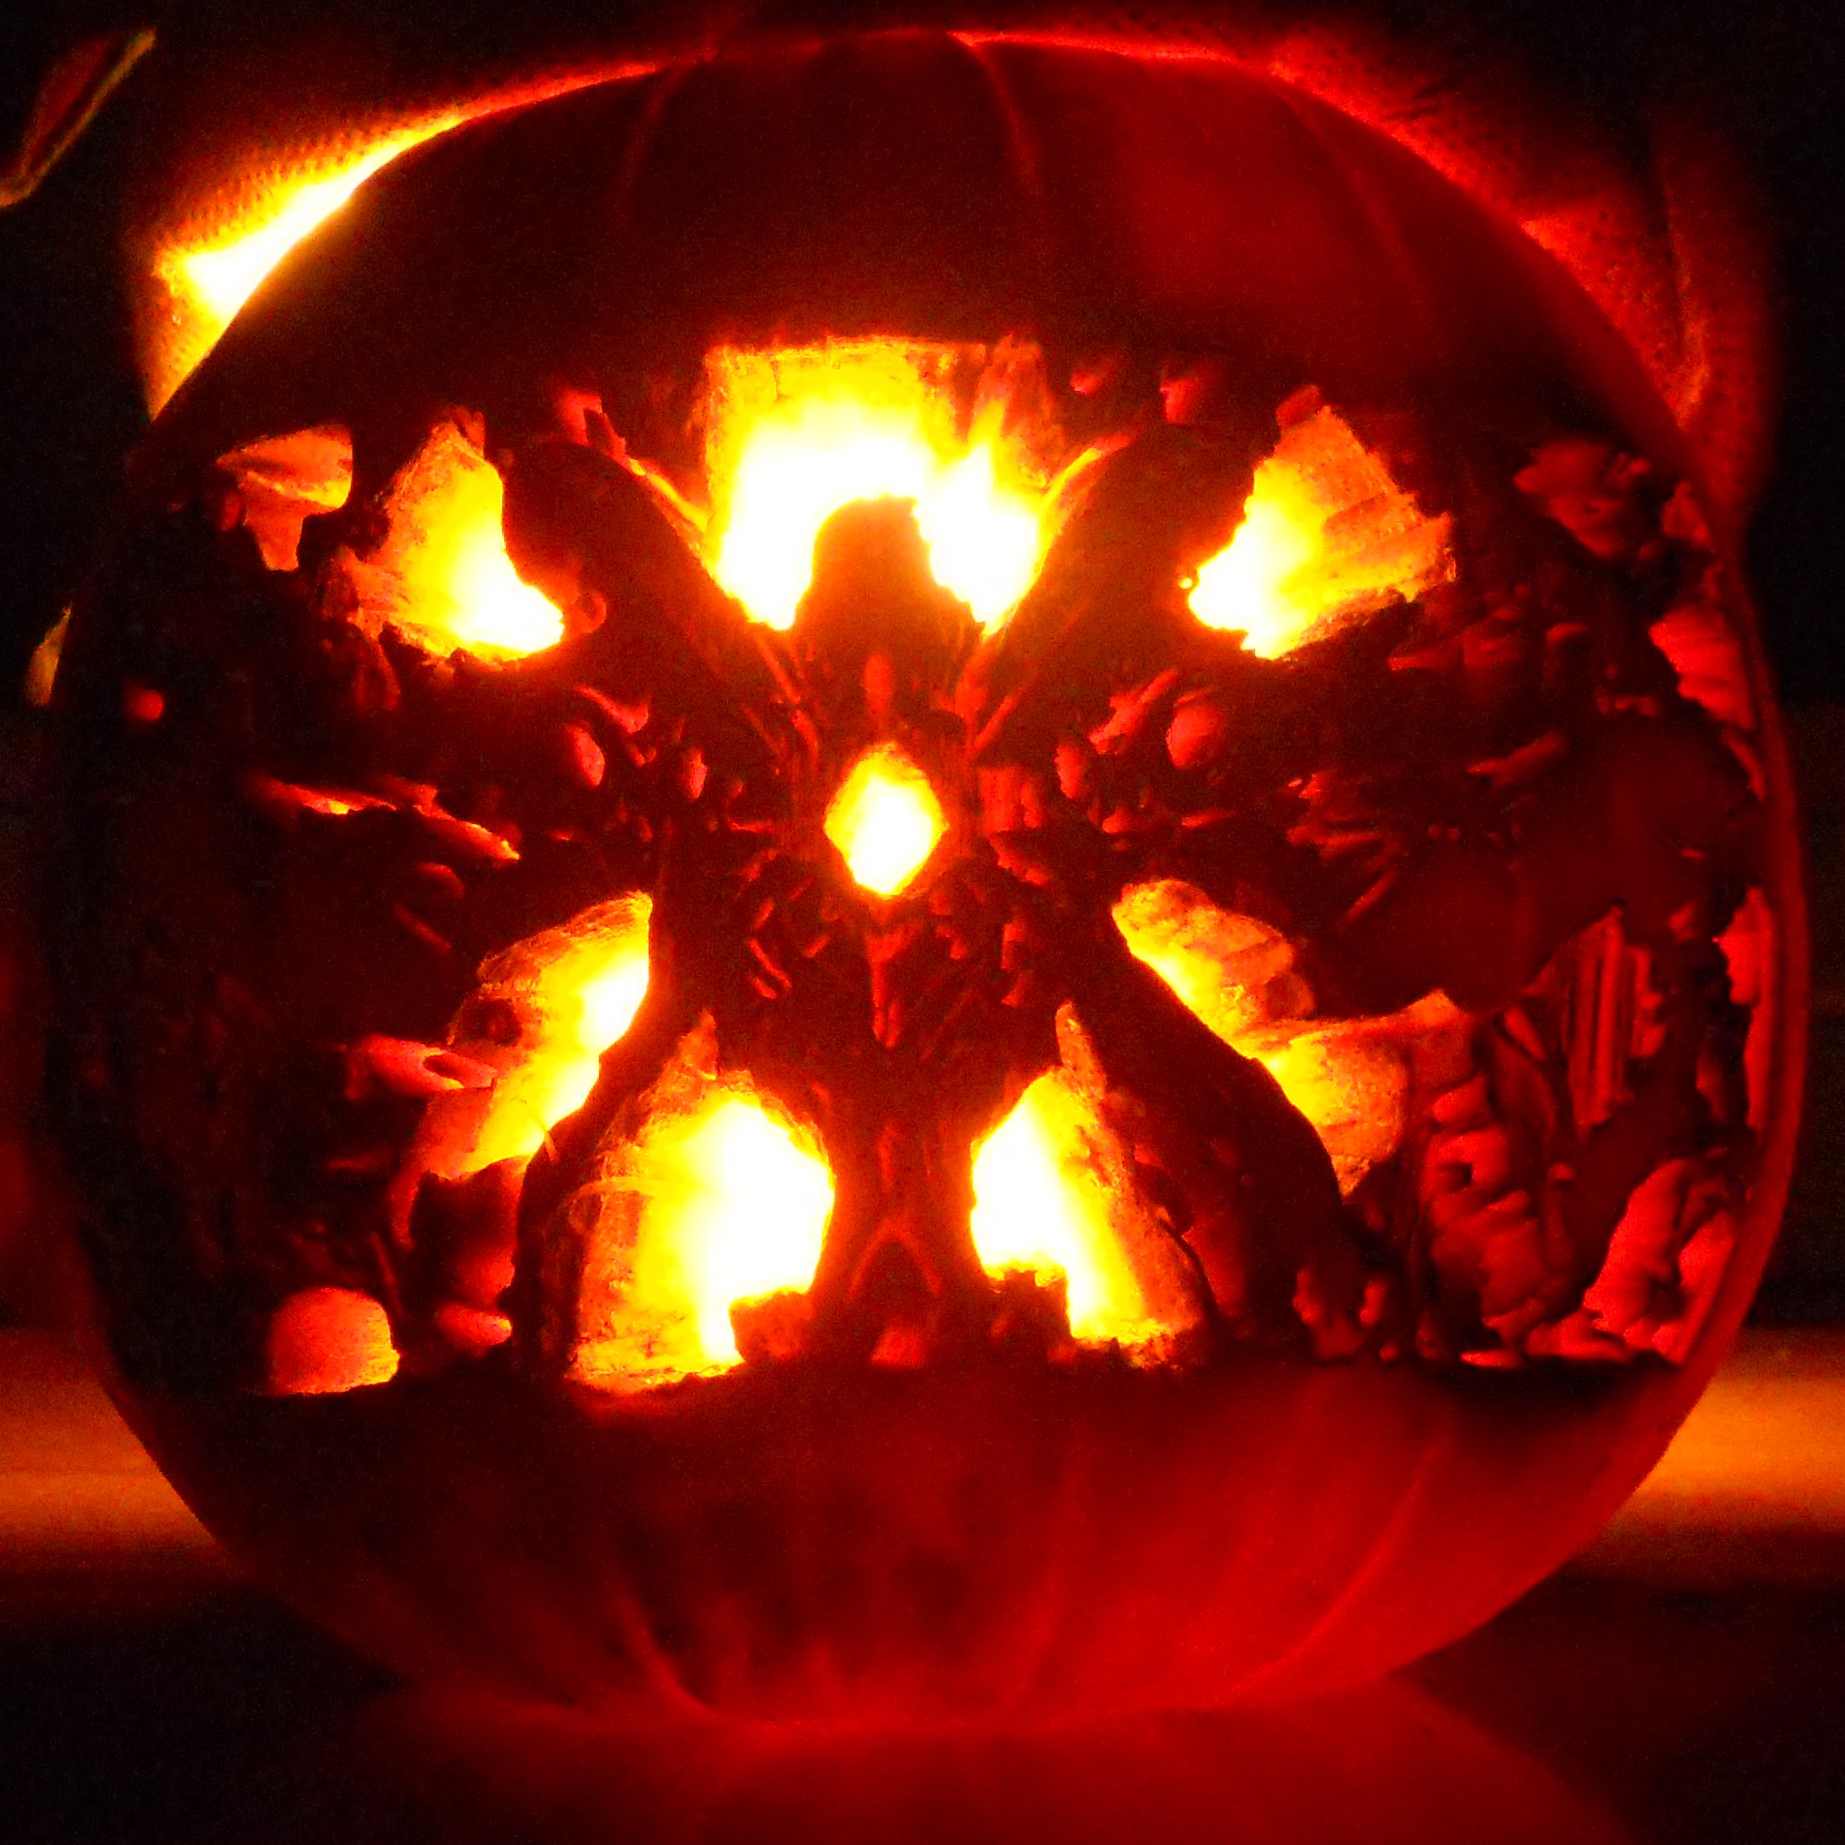
This started as simply a fun way to play with a laser cutter. Actually, it ended that way too. In fact, it never really drifted from that status. However, carving pumpkins with a laser had some interesting challenges.
Laser cutters usually burn away material like acrylic or cardboard to slice pieces out of a flat material. This is great because the laser has a focal point where the clean cut will happen. If you are out of focus then the burned hole will either be too big or it won’t cut the material at all. If you’re working with a flat plane you can focus it in one spot and be fine.
If you are carving into a cylinder (for instance a can of baked beans), then you don’t have a common height to focus onto! Fortunately for me, the laser cutter at the Media Lab has a lathe attachment. With a lathe you simulate a flat plane by converting the y axis into rotation (meaning you could “spin” an object instead of having the laser actually move forward and backward).
Pumpkins aren’t cans of baked beans, pumpkins are spherical. The lathe only lets me rotate on one axis, which means that the X axis varies in height too. I found a really good solution to the problem, which was to ignore it and carve anyway. It worked, although I lost detail the further I went from the middle. Meh.
Before you can even pick out a pumpkin you need to take an image and break it into four layers (I used Adobe Illustrator to do this). Each layer will represent a different brightness, since it will be a different cut depth. You don’t need to use four layers — you could be boring and just use one, for example. I used four because deep down it just felt right.
It’s hard to predict the depth of a cut once you do your second pass, because the area around the laser point will often vary in height depending on how many cuts have happened. For instance if you were to carve the shape of a doughnut, the middle part of the doughnut might begin to sag, which means that additional cuts could accidentally hit the outskirts of the center. Tiny details have to be deeper (e.g. brighter) or they will be blasted away on later cuts.
More could be done — e.g. automatic generation of layers based on pumpkin color calibration (carve the pumpkin with varying depths, take a photo of the lit pumpkin, and match it to the photo you want to carve). We’ll see what happens!
Posts and Press
Technologies
- Lasers
- Adobe Illustrator
Testimonials
Halloween, it’s about time
– Tychus Findlay